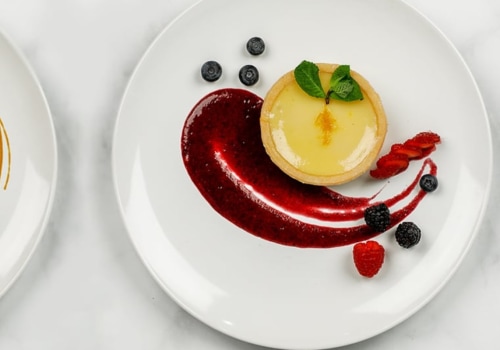
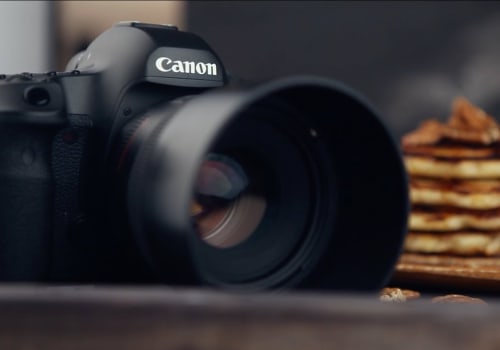
If you are a photographer looking to take your food photography editing skills to the next level, then using the curves tool in Photoshop is a must-have skill. The curves tool is a powerful and versatile tool that allows you to make adjustments to the tonal range and contrast of an image. It can also be used to adjust the brightness, shadows, highlights, and color balance. In this article, we will explain the basics of using the curves tool in Photoshop and show you how it can help you enhance your food photography editing skills.
We will also provide some tips and tricks that will help you get the most out of this powerful tool. So if you’re ready to take your food photography editing to the next level, let’s dive into the curves tool in Photoshop!
Advanced Options For The Curves Tool
The Curves tool also offers more advanced options such as anchor points and curves presets. Anchor points allow you to make precise adjustments to specific areas of your image while curve presets allow you to quickly apply a preset adjustment such as increasing contrast or brightening shadows. Anchor points can be added by clicking and dragging on the curve line to create a new point, or by double-clicking on the curve line to create a new point with a straight line from the previous point.You can also move an existing point by clicking and dragging it. The curve presets can be accessed by clicking on the arrow icon next to the curves tool and selecting one of the presets. Each preset will apply a different adjustment to your image, allowing you to easily experiment and find the look that works best for your image.
Getting Started With The Curves Tool
To get started with the Curves tool, open your image in Photoshop and select Image > Adjustments > Curves. This will open the Curves window where you can make adjustments to your photo.In this window, you'll see a graph with an X and Y axis, a histogram, and a series of control points. The X and Y axis represent the light and dark tones in your image, while the histogram shows the distribution of tones in your image. The control points allow you to adjust the tones in your image by creating a curve on the graph. To make adjustments, simply click and drag the control points to create a curve. You can add as many points as you like to adjust the tones in your image.
As you create the curve, you'll see the changes applied to your image in real-time. You can also use the eyedropper tool to select a specific color or tone in your image that you want to adjust. Once you're happy with your edits, click 'OK' to apply the changes.
Using Curves To Adjust Brightness And Contrast
The most common use for the Curves tool in Photoshop is to adjust brightness and contrast. To do this, select an S-shaped curve from the dropdown menu at the top of the window and then drag the middle of the line up or down.This will adjust the midtones of the image, allowing you to increase or decrease the overall brightness and contrast. You can also drag the start and end points of the curve to adjust the highlights and shadows separately, creating more subtle adjustments. You can also use the Curves tool to adjust specific color channels, such as red, green, or blue. Select a channel from the dropdown menu, then adjust the curve to lighten or darken that particular color. This is especially useful for food photography edits, where you may need to adjust the saturation or hue of certain colors.
Adjusting Individual Colors With The Curves Tool
The Curves tool in Photoshop can be used to adjust individual colors in your photos.To do so, select one of the color channels from the dropdown menu at the top of the window and then drag that particular channel's curve up or down. This will allow you to adjust the brightness, contrast, and saturation of that particular color. For example, if you want to make the blues in your image more vibrant, you can select the blue channel in the dropdown menu and then drag the curve up to increase the brightness and saturation of the blues. Alternatively, you can drag the curve down to decrease brightness and saturation.
It's important to note that when adjusting individual colors with the Curves tool, it's best to make small, incremental adjustments rather than making drastic changes. This will ensure that your adjustments are subtle and natural-looking. The Curves Tool in Photoshop is an incredibly powerful and versatile tool that can be used to make precise adjustments to food photography and other edits. With this tutorial, you learned how to use the Curves Tool to make adjustments to brightness, contrast, and individual colors. You also learned how to use anchor points and curves presets for more advanced edits, as well as when to apply different types of curves.
With the right knowledge and practice, you can use the Curves Tool in Photoshop to create stunning images.


Leave a Comment