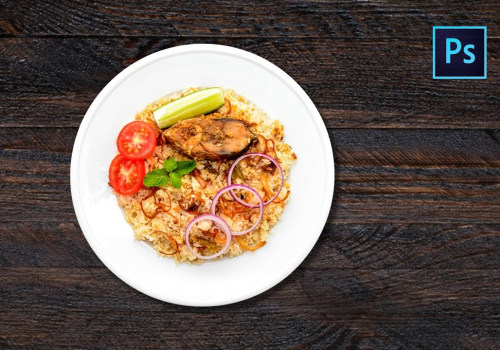
Are you looking for the best way to edit your food photos in Lightroom? If so, you've come to the right place! From quick and easy fixes to advanced post-processing techniques, this guide will help you get the most out of your food photos. Whether you're a beginner or a professional photographer, you'll find plenty of tips and tutorials to help you take your food photography to the next level.
Tips for Editing Food Photos in Lightroom
When editing food photos in Lightroom, there are a few simple tips you can use to get the most out of your images. It's important to remember that different platforms have different requirements for image sizes and quality, so it's important to optimize your images accordingly. Additionally, different food types often require different editing styles, so it's important to take the time to experiment with different techniques and find the ones that work best for your photos.Optimizing Images for Different Platforms
– Different platforms have different requirements for image sizes and quality.For example, Instagram images are usually square-shaped, while Facebook images can be rectangular. Additionally, some platforms require higher resolution images than others. It's important to optimize your images for each platform accordingly.
Using Different Editing Styles for Different Types of Food
– Different types of food require different editing styles. For example, lighter foods such as fruits and vegetables may require a softer, more muted editing style, while darker foods such as desserts may require a bolder approach.Experiment with different techniques and find the ones that work best for your photos.
Using Presets
– Presets are an easy way to get consistent results when editing food photos in Lightroom. There are many free presets available online, or you can purchase them from various vendors. Presets can save you time and help you achieve consistent results every time.Using Lightroom’s Adjustment Brush Tool
– Lightroom’s Adjustment Brush tool is a great way to make subtle adjustments to specific areas of your image. For example, you can lighten or darken specific areas of the food, adjust colors, or even add highlights and shadows.In conclusion, editing food photos in Lightroom can be a challenging task, but with the right knowledge and techniques, it can be made much easier. By understanding the basics of post-processing techniques, such as cropping, adjusting exposure and contrast, adding filters, and more, photographers can take their food photos to the next level. For those looking to further their knowledge of Lightroom and food photography, there are many tutorials, articles, and other resources available online to help them out.


Leave a Comment