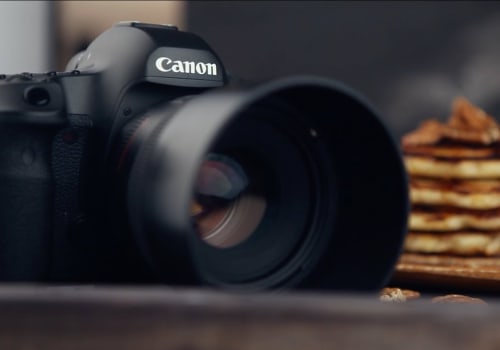
Are you looking to create stunning images with the perfect mix of contrast and clarity? If so, then the frequency separation technique in Photoshop is the perfect tool for you! This powerful technique allows you to separate an image into two distinct layers – one containing the details, and the other containing the color. By working on each layer independently, you can make targeted adjustments that would otherwise be impossible with traditional editing methods. In this article, we'll explore the frequency separation technique in detail and show you how it can help you create stunning images!
Using Frequency Separation in Photoshop
The frequency separation technique in Photoshop is a powerful tool for making precise adjustments to the tone and color of an image. It can be used to separate the details in an image from its tonal and color values, allowing you to make adjustments without affecting the underlying details.In this guide, we'll look at different techniques for using frequency separation in Photoshop, such as masking and blending. Masking is the first technique that we'll explore. This involves creating a mask layer above the original image and then using the frequency separation technique to separate the details from the tone and color. You can then make adjustments to the tone and color without affecting the details. This is a great way to adjust the overall look of an image without having to worry about losing any of the detail. Blending is another technique for using frequency separation in Photoshop.
This involves blending two or more layers together to create a new layer. This technique can be used to create a more natural look, as well as to add depth and texture to an image. This can be a great way to create a unique look that stands out from other images. Finally, we'll discuss how to use frequency separation in Photoshop to adjust contrast and saturation. By adjusting contrast and saturation, you can create an image that looks more vivid and vibrant.
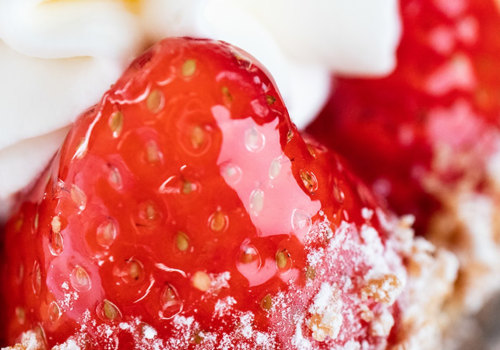
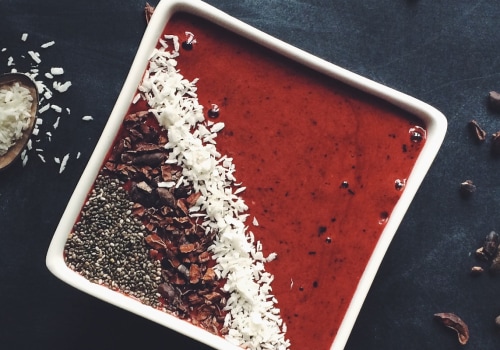
This can be especially useful when editing photos of food, as it can make the colors more vivid and give the food a more appetizing look.
How to Set Up Frequency Separation in Photoshop
The frequency separation technique in Adobe Photoshop is a powerful tool for making precise adjustments to the tone and color of an image, while preserving the underlying details. To get started with frequency separation, you first need to create two layers and apply the right filters. Here are the steps for setting up frequency separation in Photoshop:Step 1: Create Two LayersCreate two new layers in your Photoshop document. It's important to note that the layer on top will be your “high-frequency” layer, while the layer beneath it will be your “low-frequency” layer.Step 2: Apply Filters
Once your layers are set up, you'll need to apply a filter to each of them.For the high-frequency layer, apply a “Gaussian Blur” filter with a radius of 3-4 pixels. For the low-frequency layer, apply the “High Pass” filter with a radius of 1-2 pixels.
Step 3: Adjust Opacity
Once you've applied the filters, you can adjust the opacity of each layer to get the desired effect. Lowering the opacity of the high-frequency layer will reduce the intensity of the blur effect, while lowering the opacity of the low-frequency layer will reduce the contrast and detail. Experiment with different opacities to find the right balance.Step 4: Merge Layers
Once you're happy with how your frequency separation looks, you can merge both layers into a single layer.This will allow you to apply further adjustments and add finishing touches to your image.
Advanced Tips and Tricks for Frequency Separation
Advanced Tips and Tricks for Frequency SeparationUsing the frequency separation technique in Photoshop can be a powerful way to make precise adjustments to the tones and colors of an image. However, there are several advanced tips and tricks that can help you get the most out of this technique. Here are a few to help you get started:1.Use layers: When working with frequency separation, it's important to use layers. This will allow you to make adjustments to the image without affecting the underlying details.You can also save time by using layers to quickly make adjustments that are applied to the whole image.2.Make careful adjustments: It's easy to get carried away when making adjustments with frequency separation. Be sure to take your time and make careful adjustments that enhance the overall look of the image.3.Use blending modes: Blending modes can be used to blend two different layers together for a more realistic effect. Experiment with different blending modes to see which one works best for your image.4.Use masks: Masks can be used to limit the effect of frequency separation to certain areas of the image. This is helpful if you want to make adjustments to only certain parts of the image.5.Adjust contrast: Contrast is an important element when editing images in Photoshop.
Use the frequency separation technique to adjust the contrast and bring out the details in your image. By using these advanced tips and tricks, you'll be able to get the most out of the frequency separation technique in Photoshop. With a bit of practice, you'll be able to make precise adjustments quickly and easily.
What is Frequency Separation?
Frequency separation is a powerful technique for editing images in Adobe Photoshop. It allows you to make fine-tuned adjustments to the tone and color of an image, without affecting the underlying details. In this technique, a photo is divided into two distinct components: the high-frequency (texture) layer and the low-frequency (tone and color) layer.By separating these two layers, you can make adjustments to the tone and color without affecting the texture, or vice versa. This technique can be used to make subtle changes to an image, such as brightening shadows or removing blemishes, as well as more drastic changes, such as changing the entire color palette of an image. The frequency separation technique is especially useful when editing food photography, since it allows you to make detailed adjustments without compromising the food’s texture. The frequency separation technique is a powerful tool for editing images in Adobe Photoshop. With this guide, you should now have a good understanding of what it is and how to use it. Using the steps outlined here, you can take your image editing skills to the next level with frequency separation.
Whether you're a beginner or a pro photographer, you can use this technique to make your photos look even better and more professional. By learning how to use the frequency separation technique, you can easily adjust the tones and colors of your photos without compromising the details. With a few clicks, you can quickly enhance any photo and make it look amazing.


Leave a Comment